
Whether you’re leading a webinar, streaming your latest passion project, or recording a podcast, your microphone will often make or break the experience. Good, clear audio not only sounds more professional, it also keeps your audience engaged. On the other hand, bad audio or a poorly chosen location leads to frustration and distraction, no matter how compelling your content or how fancy your backdrop is. Thankfully you don’t need a recording studio to sound great, you just need to understand the basics.
1. Understanding How Microphones Work
At its core, a microphone is a device that transforms sound waves into electrical signals that can be amplified, recorded, or transmitted. This simple concept is what allows your voice to travel clearly across a stage, or into a livestream or a virtual meeting platform.
There are two main categories of microphones you’ll encounter: dynamic microphones and condenser microphones.
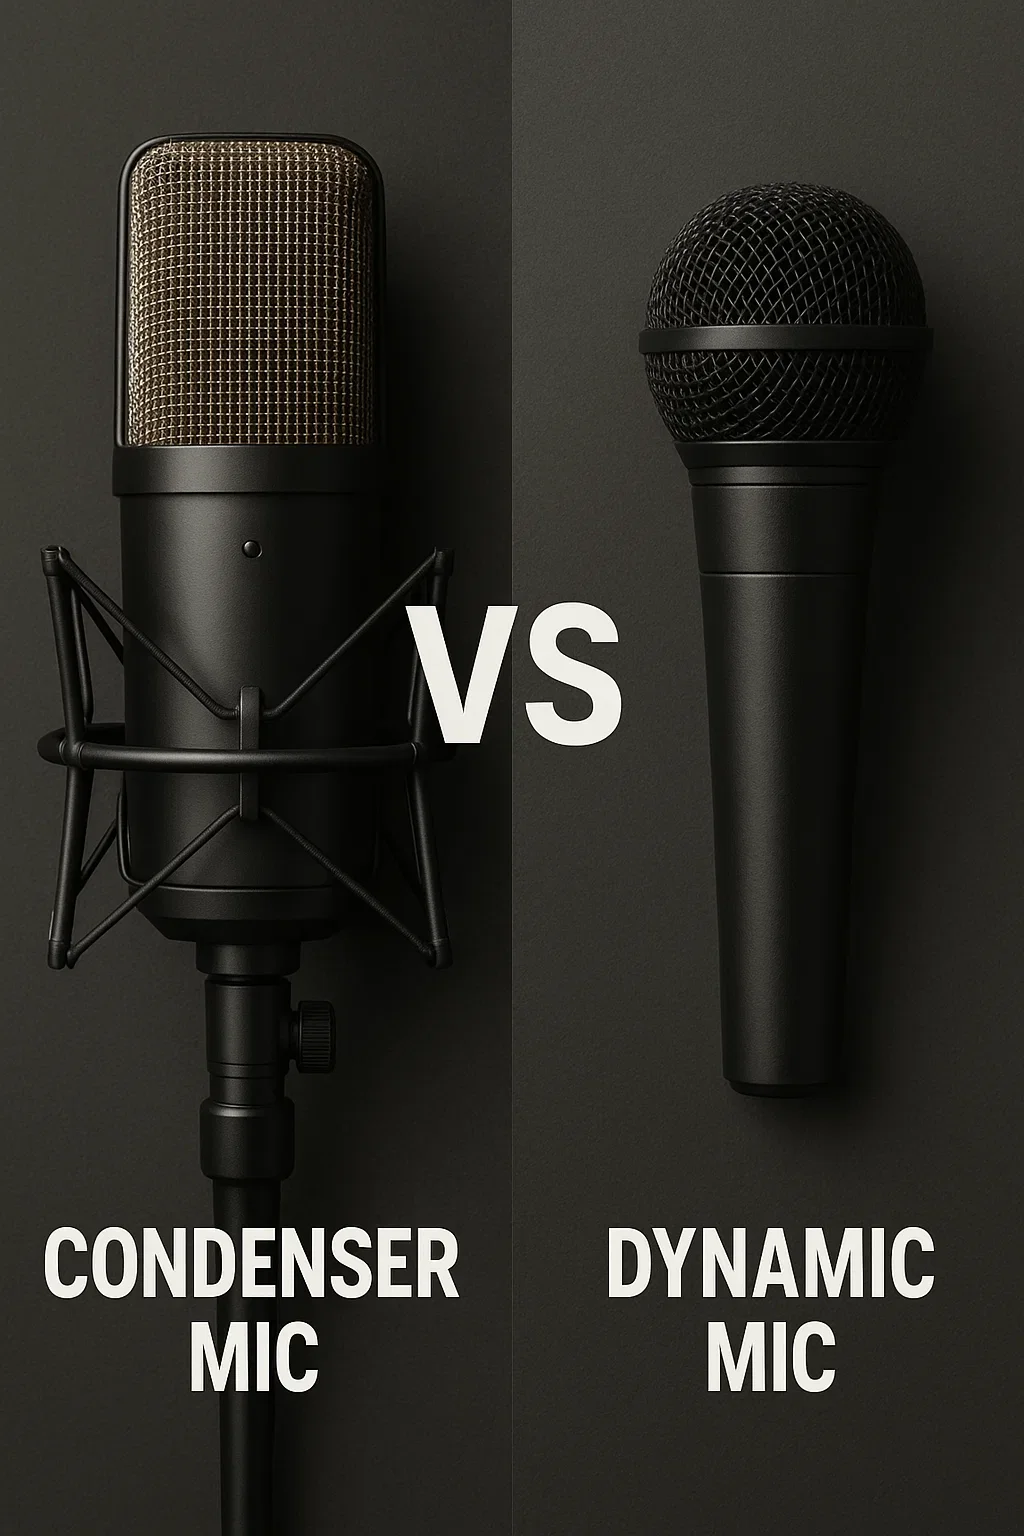
Dynamic Microphones – Rugged, durable, and great at rejecting background noise. Perfect for live settings and streaming from less-than-ideal rooms.
Condenser Microphones – Sensitive and detailed, capturing a fuller sound. Ideal for controlled studio environments, but they can also pick up small, unwanted noises like typing, HVAC systems, or background chatter.
Knowing this distinction helps you match your microphone to your environment. If you’re recording in a quiet, controlled space, a condenser might bring out the richness of your voice. If you’re working in a more unpredictable setting, a dynamic mic may be the more reliable choice.
How your microphone connects to your setup is also just as important to keep in mind:
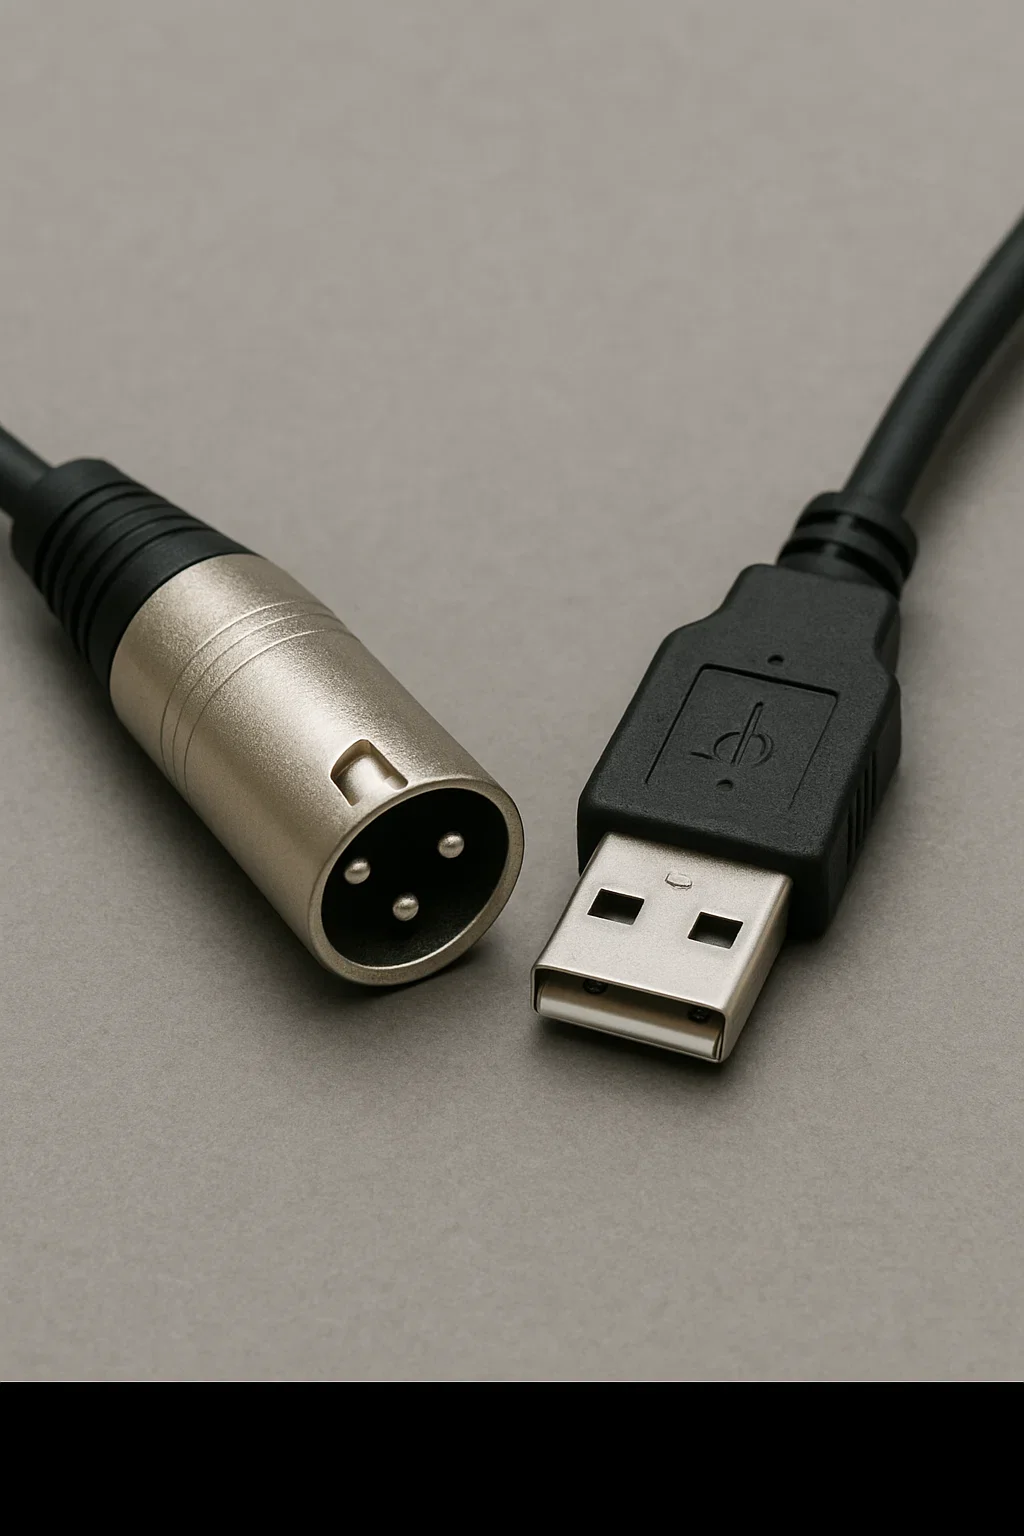
USB microphones plug directly into your computer and are instantly recognized by software like Zoom, Teams, Meet. They’re easy to use, affordable, and a great option for beginners or anyone who wants a quick upgrade from a built-in mic.
XLR microphones are the professional standard. They deliver high-quality sound and durability but require extra gear—like an audio interface or mixer—to connect to your computer. They’re more flexible and powerful but also more complex and costly.
2. Common Microphone Options for Livestreaming and Virtual Presentations
Most livestream setups aren’t going to include professional studio microphones out of the gate, and many presenters rely on what they already own. Each option has benefits and drawbacks, and understanding them can help you decide whether to stick with what you have or invest in something more specialized.
Let’s take a quick tour of the most commonly used options, starting with the simplest:
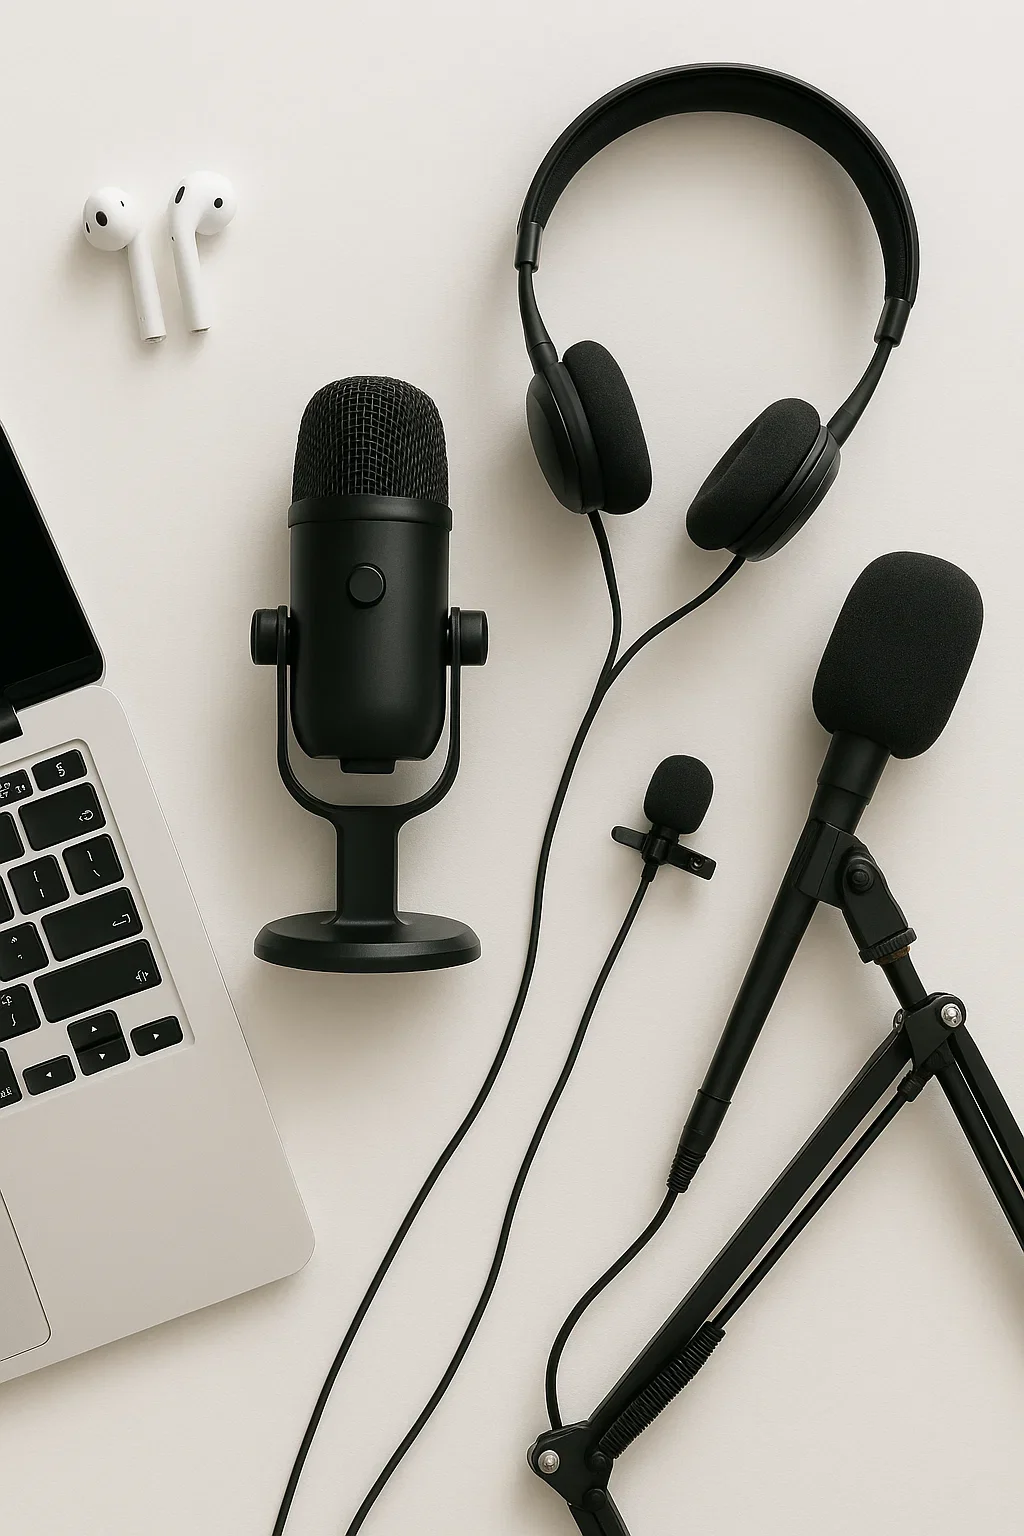
Built-In Computer Microphones
Every laptop or desktop comes with a built-in microphone, and while this makes livestreaming possible without extra gear, it’s generally the weakest option. Built-in mics tend to pick up significant room noise and create a distant, echo-filled sound.
They’re serviceable for internal calls but should be avoided for important presentations or recordings where clarity and professionalism matter.
Wireless Earbuds
Wireless earbuds like AirPods have become common for quick meetings and livestreams. They offer convenience, freedom of movement, and built-in noise reduction features. However, they’re not designed primarily for professional audio - the sound can be thin, and connection dropouts or battery life can become an issue during longer sessions. They work well for casual use but may not deliver the level of polish needed for formal presentations or recorded content. As a general rule of thumb, a wired connection will always produce better quality sound than a microphone connected via Bluetooth.
Headset Microphones
Headsets remain one of the most reliable choices for livestreaming and video calls. Because the microphone is adjustable and positioned close to your mouth, it delivers consistent sound even if you move your head or shift positions. This makes them ideal for interactive sessions where you’re actively presenting, teaching, or gaming. The main drawback is that headsets are very visible on camera, and depending on the model, audio quality may lean more towards functional for work use instead of crystal clear studio-grade.
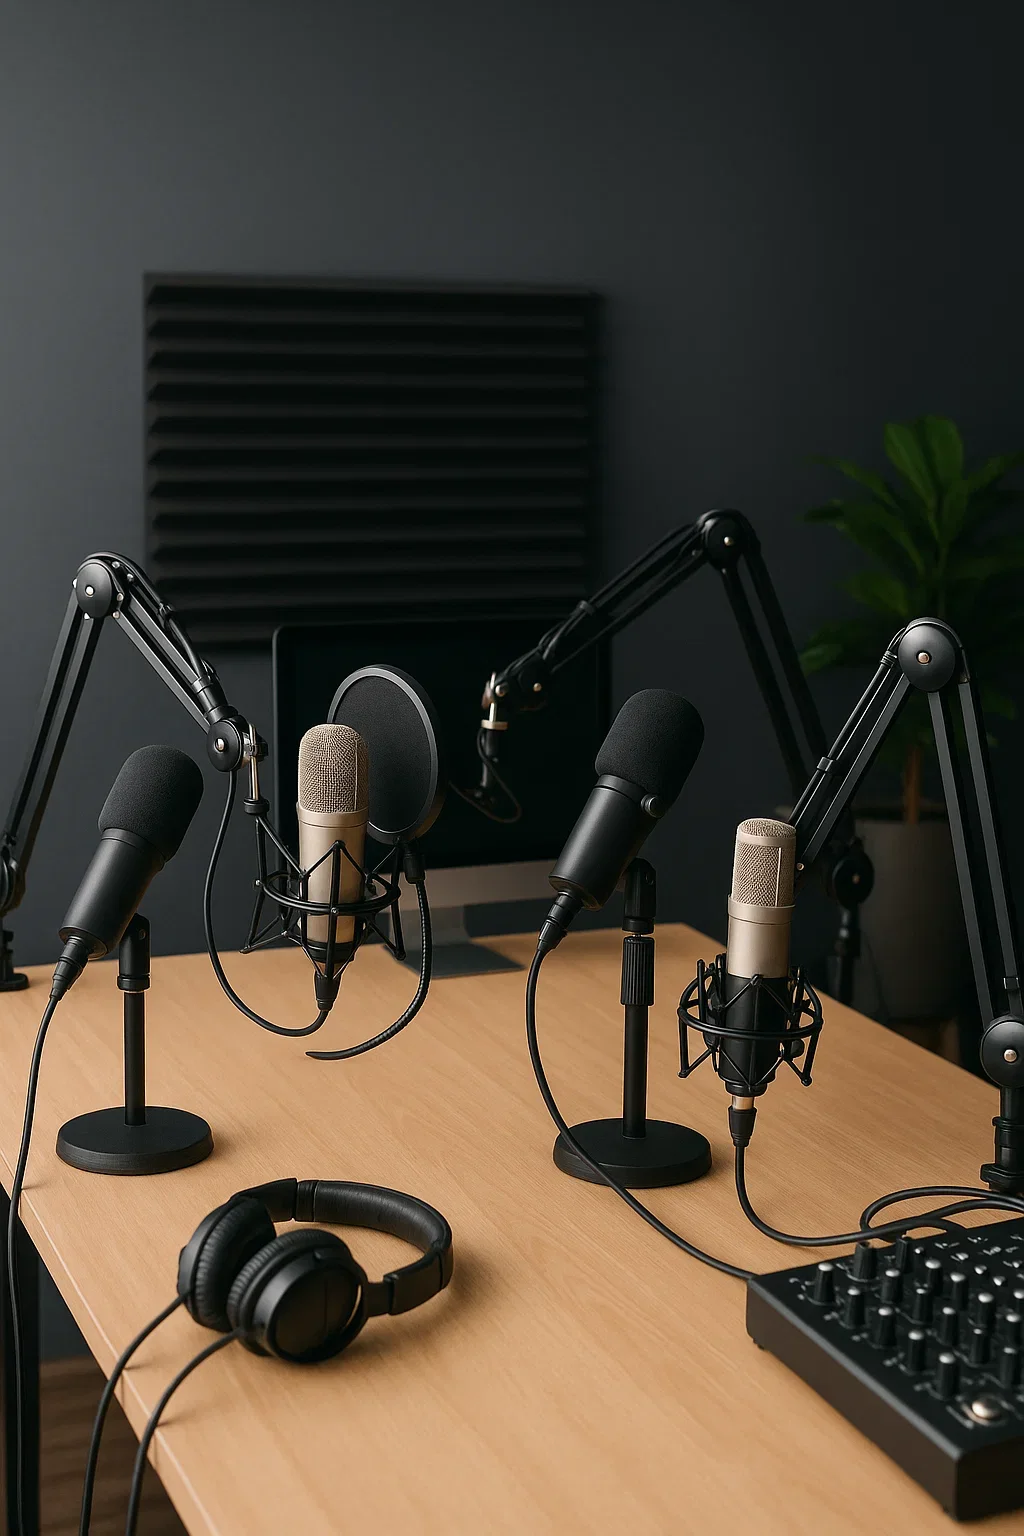
Dynamic Vocal Microphones (Podcast Style)
These are the go-to choice for podcasters and serious livestreamers. Dynamic vocal mics isolate your voice extremely well, reduce background noise, and give a polished sound, even in untreated rooms. The only tradeoff is that they’re usually visible on camera and require consistent placement close to your mouth.
Lavalier (Clip-On) Microphones
Lavaliers remain a solid choice for livestreams where you want a hands-free, unobtrusive setup. They keep your voice consistent, even as you move around, but can pick up clothing rustle if placed incorrectly or lack the depth you hear with larger mics. They’re a good solution for live presentations with multiple speakers, or for anyone prioritizing freedom of movement with a microphone that’s barely noticeable on camera.
Handheld Microphones
Handhelds are great for direct, controlled sound, especially when you want reliability and durability. They’re less convenient for livestreams that require hands-free interaction, but for interview formats or on-camera speaking, they’re a dependable option.
Boom Microphones
Booms mounted just out of frame above the presenter are popular in higher-production livestreams. They provide natural, camera-friendly sound and are hidden from the camera view, but need careful placement, testing, and a quiet, controlled space to truly shine.
3. How Streaming Software Enhances (and Limits) Your Sound

Modern conferencing and streaming platforms such as Zoom, Microsoft Teams, and Google Meet include built-in audio processing features. These options include background noise suppression, automatic volume adjustments, and echo cancellation. While these tools are helpful for tweaking your audio quality, they unfortunately are not replacements for a good microphone or a well-prepared environment.
For example, noise suppression may reduce the sound of typing or an air conditioner, but it also changes and modifies the natural quality of your voice. Automatic gain control can raise the volume when you speak softly, but it may also amplify unwanted background sounds. These features should be seen as supportive tools, not as primary solutions.
Software can improve good audio but can’t fully fix bad mic placement or a room that sounds like an echo chamber. Garbage in, garbage out still applies, and a poor-quality mic will always limit your audio, no matter how many fancy options your software has.
4. Setting Up Your Room For Success
Your room plays just as much of a role in your audio quality as your microphone, and while you don’t need to build a home studio, a few adjustments make a world of difference:
Hard, bare surfaces create echoes and reverb that can be difficult to remove once recorded. Try to avoid setting up in empty, large rooms with high ceilings and hard materials that bounce your sound back at you.
Softer surfaces and materials absorb sound and produces a clearer, more direct result. A room with carpets, curtains and couches will help reduce echo in your recordings, similar to how professional sound dampening panels work.
Position your microphone close enough to capture your voice clearly, but not so close that it picks up breathing sounds or causes distortion. Experiment with distance angles to reduce “pops” from plosive sounds like “p” and “b.”
Always test your setup before joining a preconference or going live. Record a short clip of your voice and play it back to hear what your audience will experience. Small adjustments in placement or environment can make a noticeable difference in sound quality.
5. What Post-Production Can and Can’t Fix
It’s tempting to think editing software can rescue poor audio, but this is rarely the case. Post-production can clean up minor issues such as background hiss or a low hum, but it cannot remove heavy reverb, distortion, or clipping (when the audio signal is too loud and “crunches”).
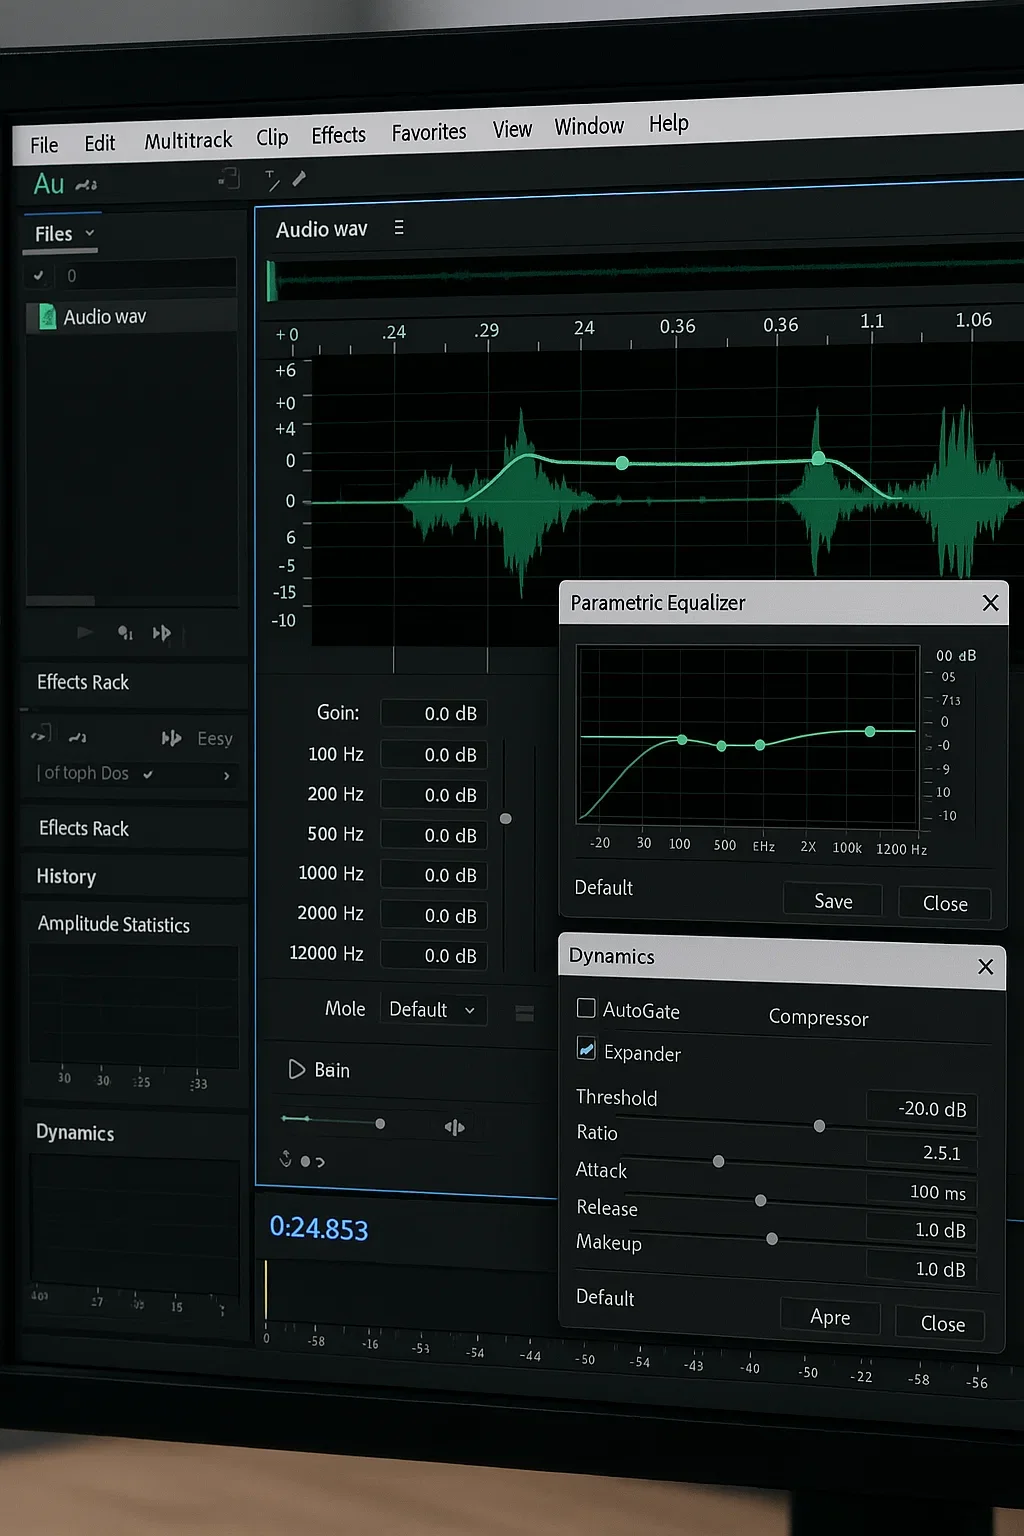
Reverb, for example, is the echo that occurs when sound bounces off hard surfaces. Once it’s recorded, editing tools can only reduce it slightly, not eliminate it. Distortion from speaking too loudly into a microphone permanently damages the recording and cannot be repaired.
If recovery is more important than perfection, there are some AI tools that can improve seriously damaged or difficult to hear audio back to an acceptable level. dxRevive from Accentize is a plugin we can recommend when all else fails, and while it won’t create miracles, it can make the difference between an unuseable recording and good enough.
Even with filters and plugins at your fingertips, it’s always crucial to prioritize strong internet and microphone quality at the setup and recording stage. Good audio captured at the source will always save time, frustration, and ensure your audience remains engaged and attentive instead of distracted and tuning out.
In the end, sounding good online isn’t about fancy setups or buying the latest and greatest gear, it’s about being clear, consistent, and prepared. A little knowledge about microphones and the best way to configure what you already have goes a long way towards producing professional sounding livestreams, virtual presentations, or podcasts.
At Revent, we believe that when your audience can hear you without distractions, your message truly shines. And working with a trusted partner who can fine tune a setup or ship out kits with recommended equipment doesn’t hurt as well. Whether you’re hosting a global conference or just kicking off a team meeting, feel free to send us a message and start a conversation to ensure you always look and sound your best.